Gamification. Let’s get down to work!
 Simply said: the application of game elements in a system to better engage its participants. That is, you don’t transform your lessons into games, but you introduce game elements to ensure engagement.
ELEMENTS
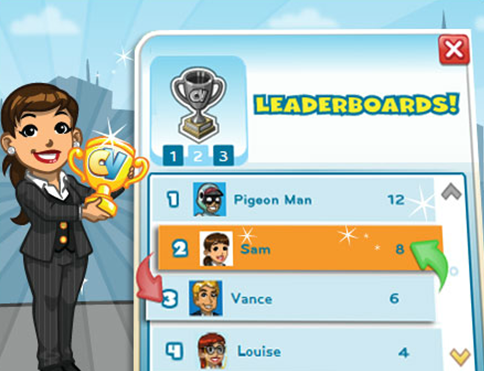
The most commented elements to be used are the PBL triad: points, badges and leaderboards:
- Points: valuable units you earn when doing certain things. They have to be connected to rewards, like real points for your grade. Years ago I enrolled in a course inside a Moodle platform. Each action (as checking links, commenting in a forum, submitting documents, etc) was rewarded with points , and with them badges were earned.
- PRO: students can see their participation is rewarded.
- CON: doing actions just for earning points.
- Badges: representation of achievement. They give some social status.
- PRO: the proud and effort of achieving one.
- CON: discrimination and categorization inside classroom.
- Leaderboards: take the previous two and make an ordered list from top to down to know who’s winning.
- PRO: knowing where you are, competitivity, bragging rights.
- CON: creating a gap too big in classroom’s social structure; lazy students giving up.
xxx
There are more elements to be used:
- Progress bars, maps, and the like: to know where you are in the process.
- Easter eggs: strategically placed items to be found so you attract students to specific places.
- Random/sudden rewards: the more time you invest in the system, the bigger likelihood to obtain a random prize.
- Unlocking elements: keys opening treasure chests. Finish a task to unlock the next one.
- Webquests.
- Feedback: behaviour infused elements in your system.
- Storytelling: wrap up a boring lesson inside a story.
- Avatars:I believe these help in entering the magic circle, which is the locked environment where the game is played and its rules are naturally followed by students.
- Level-ups: similar to pokemon evolution. After assimilating some new abilities you get transformed into something more powerful.
- Certificates of achievement: similar to badges.
- Checklists of accomplishment: similar to progress bars.
GAMES
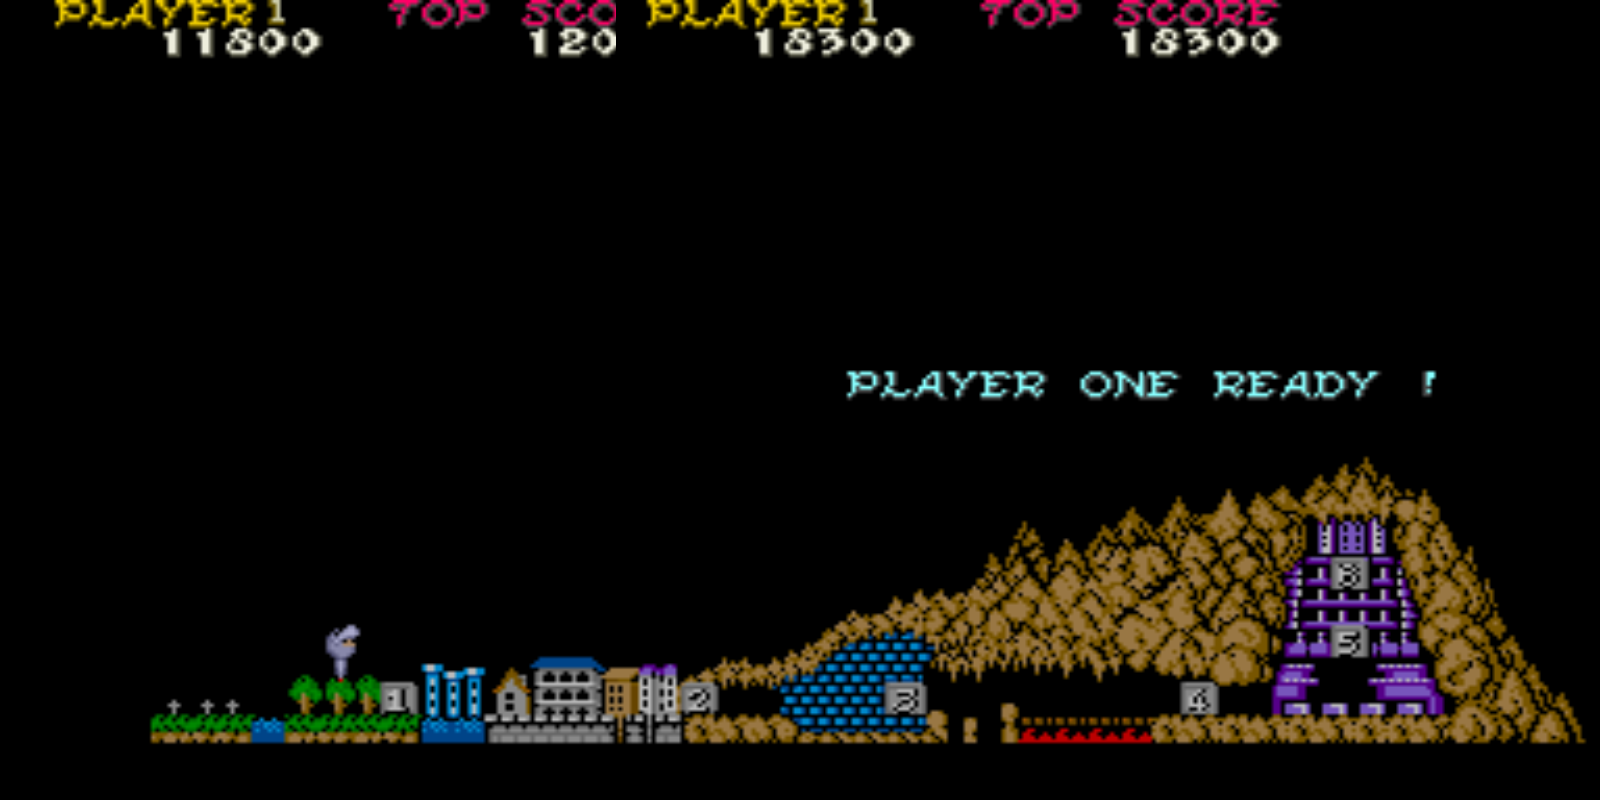
I’ve already said gamification doesn’t deal with game design, but that can be useful when designing our lessons. Three features are to be taken in count:
- Player’s journey:
- Onboarding: tinny tutorials to help students start. New knowledge is given as new rules are introduced, so first-time long explanations are avoided. Participants just know what they need.
- Scaffolding: progressive levels of difficulty.
- Paths to mastery: the road to students’ skill growth.
- Balance: equilibrating the rules so plummeting and rocketing are avoided.
- Experience creation: it has to be as real as it can. That way the magic circle gets stronger.
THE GAMIFIED LESSON
If we put everything in place our gamified lesson will have these features:
- Onboarding.
- Scaffolding.
- Social.
- Multifeedback.
- Map.
- Exchangeable rewards.
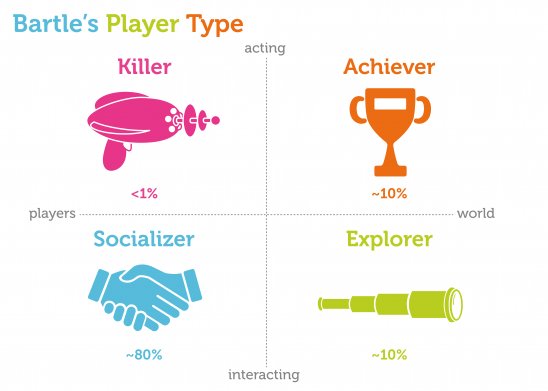
Gamification also deals with psychology: self determination, player models, engagement loops, progression loops, motivation, etc. Also with player types: killers, achievers, socializers and explorers. A lot to say about the previous, but it’s not this article’s point. You can find several MOOCs on gamification:
- I’ve personally done these two. There are good teachers, explain everything in a straightforward manner and the contents are really of great value. Check them!
- There’s another one I can’t comment about:
HOW TO’S: MOODLE
There’s an LMS which includes some features for gamification and that’s Moodle:
- Badges: PBL model, included in version 2.5.
- Conditional elements:
- Progress bars: you have an ad-hoc plugin, or you can devise your own. Create several progress bar images (as photograms). Put each in a label, hide them and make them appear consecutively as tasks are being finished. Students will see just one bar changing its state (as in an animation film). Something similar is the lesson objectives module.
- Maps: it’s the same as in progress bars. You can open Photoshop or a layer based editing software, load a rectangular landscape (LOTR style) and a hero on another layer. Save the picture several times with the hero appearing in different spots of the landscape. Use those pictures as photograms.
- Random rewards: use the restrict access option. Quick example: create a hidden label with a treasure picture. Program it to appear at some time. Students will see the treasure as if it were random. With activity completion students can gather the treasure clicking on the check box.
- Easter eggs: tell your students some eggs have to be found. Place them in spots you want your students to go to. When clicking use a similar strategy as in random rewards.
- Element unlocking: use restrict access.
- Onboarding: place knowledge pills in hidden labels and make them appear as students go on accomplishing tasks.
- Activity completion: control how activities are accomplished (by seeing them, by obtaining a grade or by submitting them). It’s embedded in the system, so just activate it to get it in motion.
- Checklist: There’s an interesting plugin called Checklist to help students control their activities.
- Level-ups: make a level change label appear after finalizing some task.
- Games: even though gamification is not about games per se you can introduce some to reinforce the use of your glossaries (e.g through classic games as Hangman, Crosswords, etc.)
- Social: forums and chats.
AESTHETICS
This is a term I repeat over and over. A gamified lesson can lose power if it looks dull. To spice it up a little bit you can use these tricks:
- Use graphical labels instead of mere text.
- Decorate your course page with icons and images.
- Consider embedding resources in labels on the course page instead of just placing the links. That gives it more color, but it also overloads it.